Windows 10’s file history backup feature is one the most useful and sought-after features as you don’t require any extra software to create backups and it also offers a range of customizable features.
How does it work?
The feature helps you make an external hard drive and it uses that hard drive to automatically store all the versions of your files and documents one by one. It builds up a library of all the iterations and versions that you have made and you can recover any of them easily as per your convenience.
Let’s say you wrote something long time back only to delete some parts of it and make iteration. Now, you think you couldn’t have done it better than what you did before. There is no struggling or regretting anymore! You can simply go to the File History and retrieve your long lost written parts.
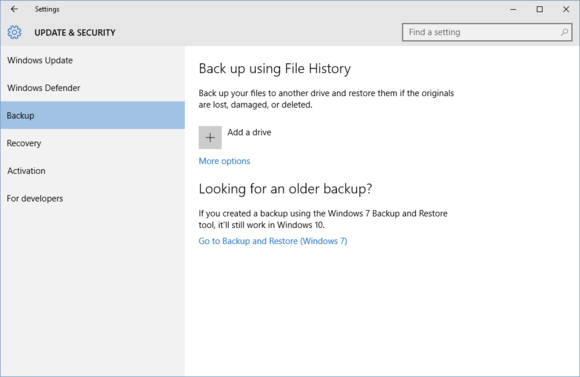
You can easily find the File History through your Control Panel. There is another easier way to find it using the Settings application. You may go to the Settings and then look for “Update & Security”. Inside this section, go to “Backup” appearing on the left panel. Below is the illustration:
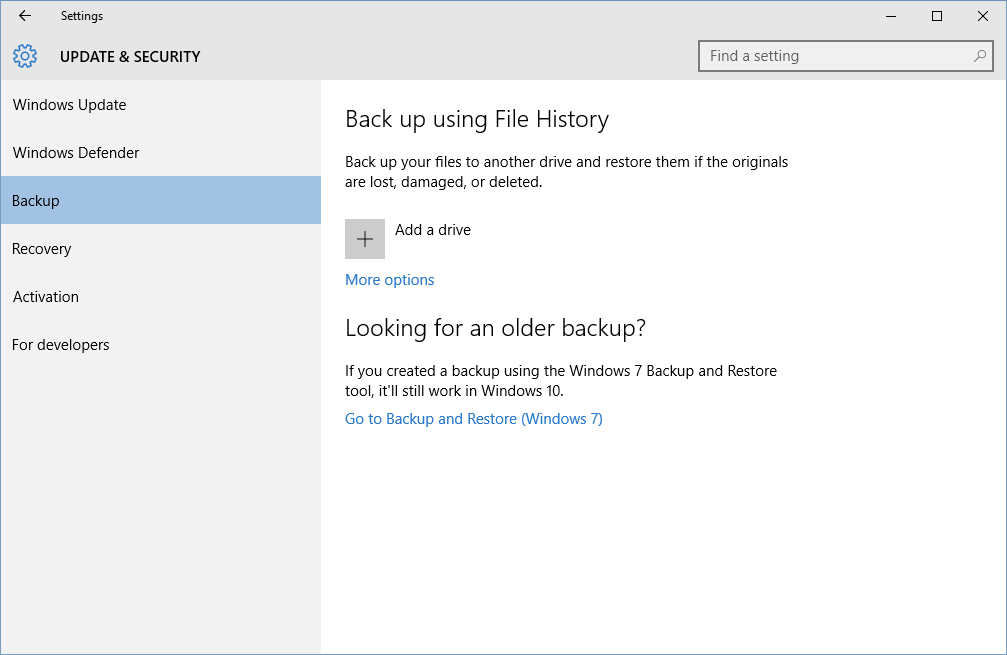
At this stage, you should attach your external hard drive. Once done, go to the Settings application illustrated above and select/click on the + sign appearing before “Add a drive”. This action will ask you which external drive you’d want to use, you simply click on the one you desire. This will begin the archiving of your data. Once started, you will now see an on/off slider labeled with “Automatically back up my files”. This should be turned on. See below illustration:
The above process makes Windows 10’s File History feature take a backup of all your files and folders in the User folder. You can anytime add or remove the folder by clicking on the link “More options” just below the on/off slider. Here, you can either add a folder by clicking on the + sign or remove a folder from the list by choosing the Remove button as illustrated below:
Features like excluding a particular folder for backup or setting frequency for the backup or stopping the backup process for this specific hard drive come handy. The frequency feature allows automatic backup of your files without you making any effort again and again. The default setting for backing up the files on Windows 10 is every hour.
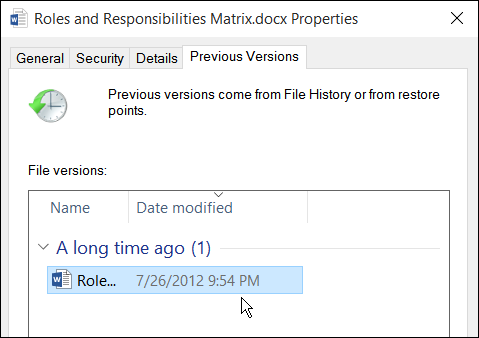
Once you have enabled the settings of your File History, the most convenient way to access these backed up files is to make a right click on it in the File Explorer. You should now select the “Properties” tab, which will take you to a new window. Here, you will find a tab of “Previous Versions”. Click on this and it will open up all the archival versions of that particular file or document and bingo!
These amazing features will never let you lose any of your important files or documents.