This is one of the best features of Windows App that many users don’t know of. This helps you record video of any action that you perform using your Windows 10 system. This could be capturing screenshots of any game that you are playing or for making a useful tutorial of your favorite app. It is an integral part of the Xbox platform and it comes with Windows 10 by default. Although, it might not be really a sophisticated screen capturing tool, but it comes free and is easy to use.
Below you will find a step-by-step guide of how to make use of this amazing feature:
- Open up the program you want to record
The video recording app in Windows 10 doesn’t allow you to record your desktop or File Manager programs, but it allows you to capture and record your regular apps and programs, which are either opened up from your desktop and they are present on Windows Store.
- Open the game bar dialogue
Next, you will have to open the game bar dialogue. In order to do so you need to carefully press the Windows key and “G” on your keyboard simultaneously. This will open up the required dialogue as illustrated below:
- Check “Yes”
At the bottom of the game bar dialogue box, you will find a checkbox that says “Yes, this is a game”. Don’t wonder if you have come to the wrong dialogue box. This is a standard procedure to record any app or game that you like. You simply have to press on the checkbox.
- Start Recording
You will see a range of image capturing options from taking simply the screenshots to recording the whole activity. Press on the red button that is for the recording action. You may also press a combination of these keys to start recording: Win + Alt + R. This will begin recording your screen.
- Stop the recording when you’re done
Once you are done recording your screen for tutorial or any other purpose, you simply find the recording bar on the top right corner of your program window. You need to tap or click on the red button again and this will stop the recording for you. In case you don’t find the recording bar, you may also press the keys Win + G and this will bring back the Game bar to you.
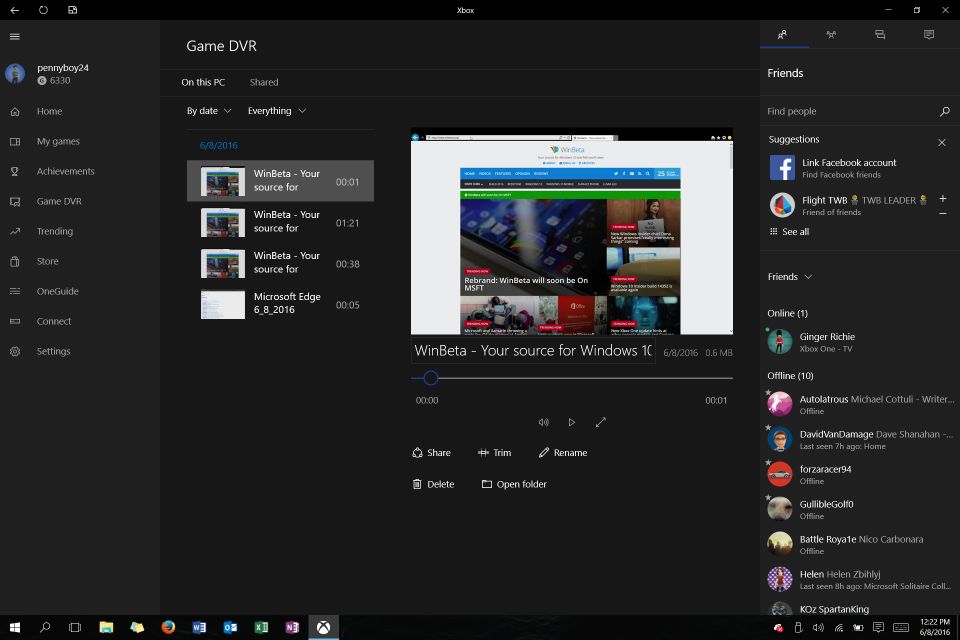
You have successfully recorded your screens. In order to watch your recorder file, you will simply have to go to your Videos folder, which will have a subfolder inside with the name Captures. The files will be in MP4 format so you may easily watch or share them. Moreover, these video files will also be available in your Xbox app, which may be found under the Game DVR menu. For advanced actions, you can also trim the video and have it shared on the Xbox live in case you have captured a game.